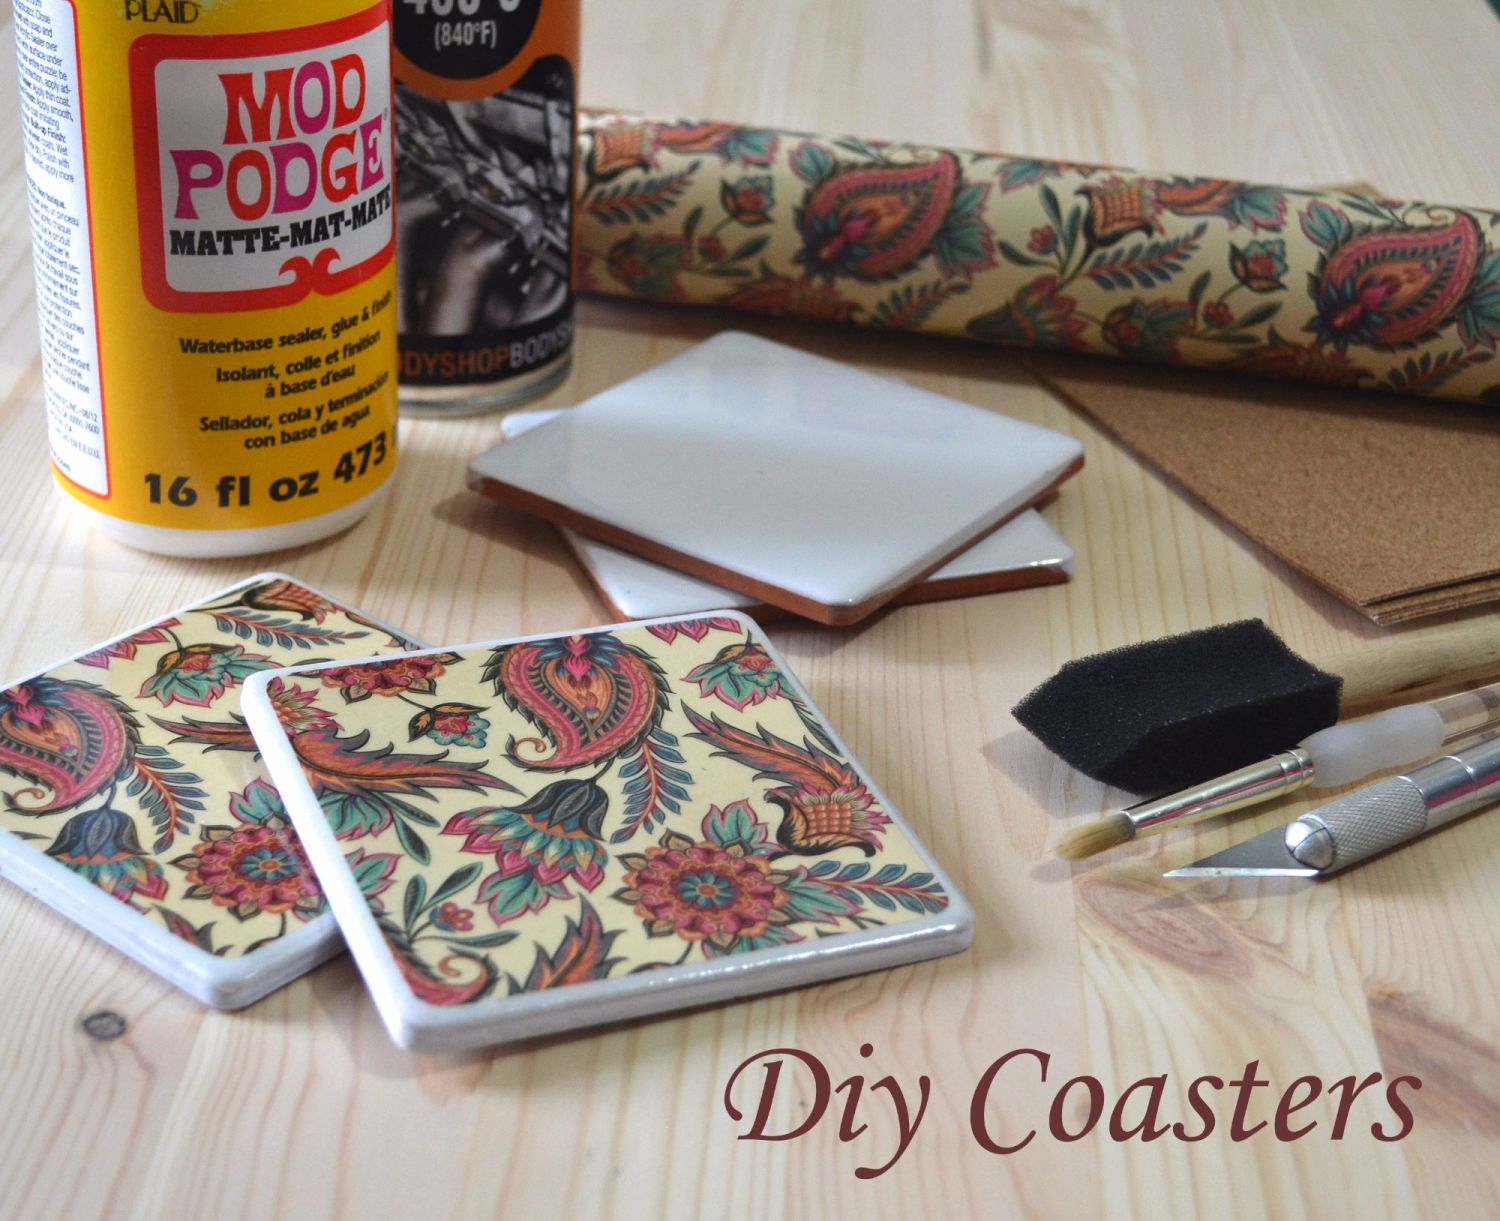
DIY Coasters
Posted on

Here's a quick and easy afternoon project that makes use of your decorative paper samples or offcuts! These handmade coasters would make a great Mother's day gift, or use a larger tile for a pretty ceramic trivet.
You will need:
10 x 10cm ceramic tiles
Decorative paper of your choice
Mod Podge (or you can use thinned down PVA glue)
Clear heat resistant engine lacquer (or any acrylic sealer/varnish)
Soft brush or foam brush
Craft knife
Wet and dry sandpaper
Acrylic paint
Cork or felt for the base
Tutorial:
- Make sure your tiles are clean and free from dust, if they have an unfinished edge like mine you can touch them up with some acrylic paint.
- Cut your paper into 9cm by 9cm squares with your craft knife, I also rounded the corners of mine with a corner punch to match the tiles.
- Brush a thin layer of Mod Podge onto the back of your paper, and another onto your ceramic tile, and carefully position the squares. Smooth out any air bubbles with your fingers, or use a roller or brayer, making sure the edges and corners are stuck down. Leave to dry for about half an hour - keep an eye out for air bubbles!
- Coat the top of your coasters with a thin layer of Mod Podge, using a soft brush or foam brush. You can even use your fingers if you don't mind them getting sticky! Leave to dry for another half an hour or so, and then give them another two or three thin coats. If you like, you can sand very lightly using some fine wet and dry sandpaper in between layers to help get rid of any brush marks.
- Finally seal your coasters with two or three coats of acrylic spray or varnish, or you could try using a clear engine lacquer which is heat resistant and helps stop hot mugs from sticking. You might find you need to 'cure' them for a week or two to stop them being tacky when used.
- Stick either cork or felt squares on the back of your tiles to stop them from scratching your furniture (I used some self adhesive craft cork).
That's it! Now all you need to do is decide which paper to use... and maybe make an extra set for yourself ;-)